Every now and again, you’re going to end up with burnt rice at the bottom of your pot.
It happens to the best of us, but cleanup doesn’t have to be a headache if you have a few tricks up your sleeve. In today’s article, we’re going to tell you how to get burnt rice and other food residues off of your burnt pot and we’ll include numerous methods so that you’ll be more than ready the next time that this happens.
Burnt rice? Burnt pan with a burnt smell? Big deal! Let’s look at how to deal with that problem and get it behind you!
Bottom Line Up Front
Usually, any of the heated water and abrasion methods will do, but for the really stubborn scorched rice residue, it’s usually best to go with citric acid from lemons or Alka Seltzer. If this doesn’t work, get the gloves and go with your Oxalic acid powder – it might be TOO much but it means you’ll get it done on your second try and keeps that burnt rice from ruining your day.
A methodical approach will get the job done
The best way to ensure that burnt rice isn’t going to be sticking around for long is to have a few favorite solutions handy. This lets you go into ‘automatic mode’, trying methods in succession until it’s done, and once you’ve tried each then you have an idea of their individual levels of ‘power’.
Be sure to experiment with each and you’ll see for yourself – the odds are, you’ll keep 2 or 3 and that will be all that you need!
The basic ‘Heat and scrape’ (for coated or uncoated pots)
Starting off, there’s no need to ‘reinvent the wheel’ in most cases where you’ve got burn residue on a pot. The basic ‘heat and scrape’ is sometimes all that you need to take care of the issue. Let’s look at how this is done!
What you’ll need:
- Water
- Wooden, plastic, or metal spoon
- Rubber kitchen gloves
Instructions
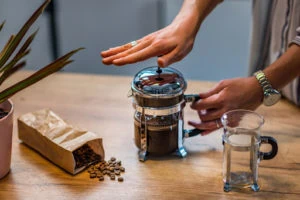
- Fill your pot with water from the sink or if you still have some boiled coffee water, then you can pour this into your pot.
- Put it on your stove and bring it to a boil.
- Switch to a simmer and let it simmer for 3-5 minutes before scraping with your spoon. For coated pots, use a wooden or plastic spoon to spare the nonstick coating as much as possible. For pans without a protective coat, feel free to be rough, just be careful not to splash yourself – rubber gloves are a good idea and keep your face far away from the water in case you make a splash.
Using a dishwasher pellet as an abrasive (for uncoated pots only)
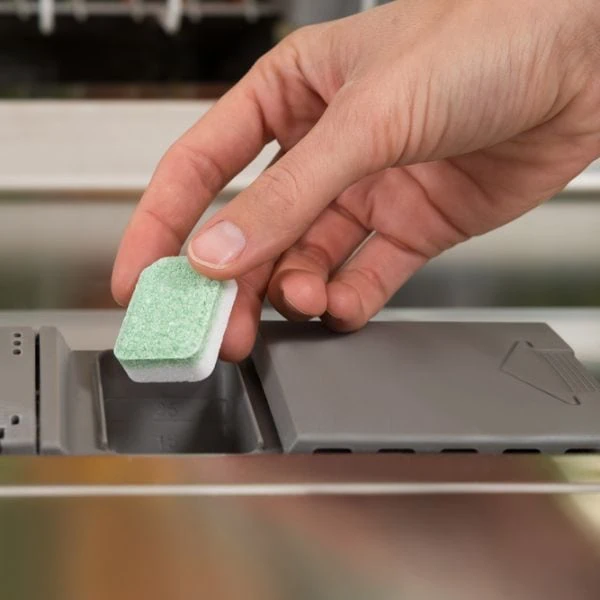
This is a neat little trick that you might not have heard of. In a pinch, you can use a dishwasher pellet as an abrasive to clean an uncoated pot or pan. The steps you’ll need are detailed below!
What you’ll need:
- Dishwasher pellet
- Rubber kitchen gloves
- Water
- Metal spoon
Instructions
- Add a small amount of warm or cold water to your pot and put it on low heat so that it is uniformly warm, but not too warm to work with.
- Remove from heat, turn off your stove, and relocate the pan to your sink.
- Put on your gloves and use the dishwasher pellet like a tiny scrub brush, rubbing it across the burnt surface to loosen it up. Clean the remaining by prying it off with a spoon – generally, it will peel right off.
- Rinse with warm water and you can load it in the dishwasher or clean it as normal, rinse it, and put it away.
Dish detergent and salt (for uncoated pots only)
Creative abrasives abound and one classic trick that has stood the test of time is the old ‘dishwashing detergent and salt’. Using two simple ingredients that you likely have plenty of at home, you have a mighty cleaning combination, and here is how to use it!
What you’ll need:
- Dishwashing liquid
- Salt (coarse chunks and fine)
Instructions
- Wet the affected area on your pot lightly, pouring out excess water, and then sprinkle a 2 tbsp mix of coarse and fine salt on the burnt area. A little will dissolve right away, but you’ll have a nice, salty coat.
- Add a drop or two of liquid dishwashing detergent on top and scrub it vigorously with your dishwashing brush.
- Once your salt is fully dissolved, repeat the process with any remaining residue until it’s clean.
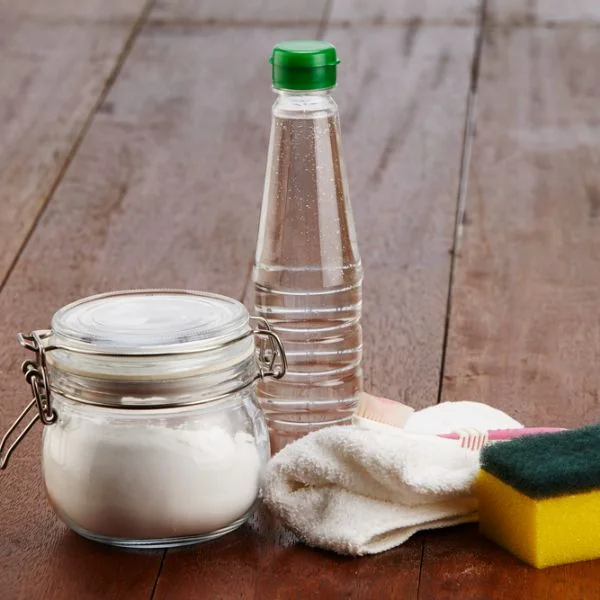
Baking soda, vinegar, and a makeshift foil scrubber (for uncoated pots only)
If your scrubber is all scrubbed out or you’re visiting a less-than-tidy friend, never fear! This little cleaning hack has got you covered. Stay tuned for details!
What you’ll need:
- 1 tbsp Baking soda
- ½ cup of white vinegar
- A small sheet of foil
Instructions
- Pour your white vinegar onto the burn spot and it should create a small vinegar layer on the entire bottom area.
- Sprinkle your tablespoon of baking soda directly onto the burnt area and it should begin bubbling fairly quickly.
- Crumple up your small foil sheet into a loose ball and use this to scrub the burned area thoroughly. Let the baking soda and vinegar do most of the work – it will loosen the particles a bit for you, so light scrubbing should be all that is needed.
- Give the pot a good rinse once if all of the burnt particles have been removed, otherwise simply add more baking soda and give it another go until it’s cleaned.
The dryer sheet method (for coated or uncoated pots)
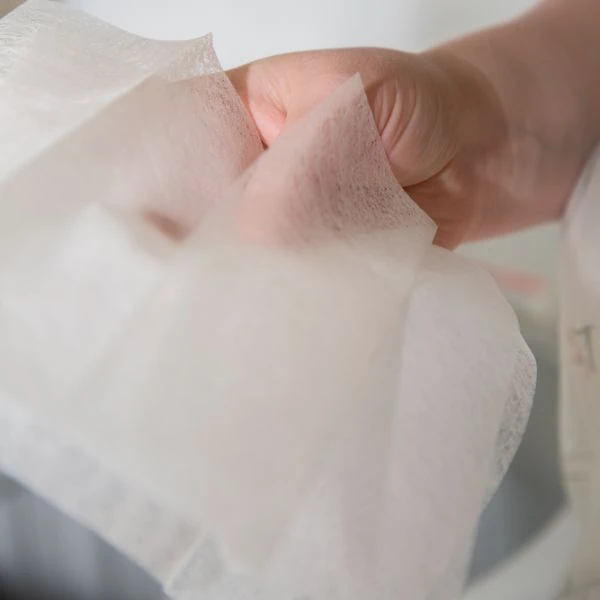
A popular method that you might not have heard of utilizes a drying sheet to clean a stubborn burn or stain from a pot. Dryer sheets are known to remove stubborn, stuck-on food, and since they are already designed in part for this task, here is how you can take advantage.
What you’ll need:
- 1-2 dryer sheets
- 1 cup of hot water per dryer sheet
Instructions
Place your dryer sheet or sheet into the pot, right on top of the burned spots.
Add your hot water, pouring it right on the burned area for a little extra loosening action from the direct heat passing through the sheets.
Once your sheets are saturated with the hot water, simply put the pot away on the side. Let it sit for 2 to 3 hours so that the residue-removing formula of the dryer sheets has a long time to do its work.
Once 2 to 3 hours have elapsed, simply scrub at the residue with your soft dryer sheets, and with a little luck, it should come right up you can repeat this as-needed or simply rinse the pan well, add more water, and boil off any remaining residue. It should be weakened at this point and more susceptible to the application of a little boiling water.
The Alka Seltzer trick (for coated or uncoated pots)
")
If you’ve got Alka Seltzer at home, then we’ve got a cleaning tip for you to try that might just do the trick! Alka Seltzer has long been used to deal with food indigestion, so it stands to reason that a little burned food on your pot wouldn’t stand a chance against it. Let’s put that to the test with the following pot-cleaning hack.
What you’ll need:
- 6 Alka Seltzer tablets
- 1 – 2 cups of warm water
- 1 scrubbing sponge
Instructions
- Add your warm water to the pot and plop in your Alka Seltzer tablets, either all at the same time or to have a little fun with it, one by one.
- Let the tablets fizz and dissolve, setting the pot aside for 1 hour. During this time, the citric acid from the Alka Seltzer will work its magic, eating away at the burn residue slowly.
- Once the pot has soaked for an hour, gently rub the burnt spot with the soft side of your scrubbing sponge and if there is remaining residue, either try boiling it off with half a cup of water or if the pot is not a coating, simply give it a thorough scrub down before rinsing the clean pot and putting it away.
Boiling lemons (for coated or uncoated pots)
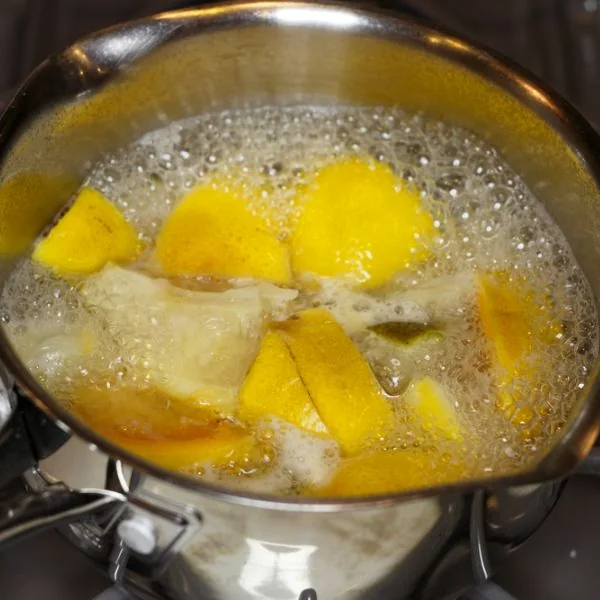
If you don’t have Alka Seltzer, you can do essentially the same thing with the power of fresh citrus. Lemons are an excellent source of citric acid, something you are probably quite aware of if you’ve ever had a sip of real lemonade when you’ve had a cut on your lip or in your mouth. To harness the power of citrus, just use the steps outlined below.
What you’ll need:
- 2-3 lemons, cut into quarters
- Water
- Rubber kitchen gloves
Instructions
- Fill your pot with 1/3 full of water or just enough to submerge your lemons. Don’t go much further than this, as we want the citric acid to be diluted as little as possible.
- Put your pot onto the stove burner and turn on the heat, bringing the water to a full boil. Let your lemons boil for 5 to 10 minutes and enjoy the aroma while you wait.
- Once 5 to 10 minutes have passed, remove the pot from the heat and carefully pour out the water and get rid of the lemons. The burn residue should be nice and loose and with your gloves on, you can give it a good scrub with a little dishwashing liquid, a splash of water, and a lot of elbow grease.
- Repeat as needed or simply try boiling off any remaining residue with plain old water and you should be able to remove the rest in all but the worst cases. If it still remains, then work through the next two methods and you should be able to defeat the stubborn remnants of burnt food residue.
Cream of Tartar and Lemon juice (for uncoated pots only)

When the other recipes aren’t cutting it, we’ve saved two ‘big guns’ for last, and the first is this nifty little recipe for eating up that burnt food so that you can make your pot pristine again. You may need to hit the grocery store but let’s overview how it’s done so that you can give this method a try!
What you’ll need:
- 2-3 tbsp cream of tartar
- 2-3 tbsp lemon juice
- 4 cups of water
- Rubber kitchen gloves
Instructions
- Add your 3 cups of water to the pot, along with 2 -3 tbsp of cream of tartar and the same number of tablespoons of lemon juice.
- Put your pot on the stove, bring the water to a boil on high heat and once it is boiling, turn the heat off and let it sit.
- You should let this solution soak in the pot for a good 10 minutes, after which you can put on your gloves and gently scrub at the burnt spot with a scrub brush or a scrub sponge. Repeat as necessary until the burnt spot is completely removed.
- Clean the pot as normal once this is done, rinse it, and put it away.
The Oxalic acid option (for uncoated pots only)

Our final ‘nig gun’ method is to use oxalic acid powder to eat away at the burnt food residue so that what’s left is nice and loose, and therefore easy to scrub away. Details are listed below!
What you’ll need:
- Oxalic cleaning powder for cookware
- Non-scratch scrubbing sponge
- Rubber gloves
- Respirator mask
Instructions
- Add hot water (preferably boiled) to your pot, allowing it to soak for a good 20 minutes.
- Dump out your water and after donning your gloves and mask, sprinkle a light coat of the oxalic cleaning powder on the burnt residue at the bottom of the pot.
- Carefully scrub at the burnt area and the oxalic acid should loosen it up enough to remove it.
- Clean the pot thoroughly with 2 to 3 rounds of dishwashing liquid and regular cleaning, or run it through your dishwasher. Clean your rubber gloves thoroughly with dishwashing liquid and warm water to remove any remaining oxalic powder residue.
- Repeat as needed, although this powerful method usually works with one application!
FAQ
Before we go, we’ve got a few frequently asked questions that just so happen to comprise 3 extra tricks that you can put in your ‘solutions bank’. Let’s take a look and see what you think!
Can hydrogen peroxide clean burnt pots?
Yes, hydrogen peroxide makes for a nice backup cleaner in a pinch, and best of all, there’s a 99% chance that you’ve got some at home. To use hydrogen peroxide to clean your pan, simply pour some in until it’s about ½ an inch high in your pan, and then bring this to a boil and quickly reduce it to a simmer.
Let it simmer for 10 minutes and it should loosen up the burnt rice quite nicely, making cleanup a breeze so that you can just pop it in the dishwasher or give it a thorough cleaning by hand, and then you’re done.
Can I use WD 40 to clean a burnt pot or pan?
WD-40 can do just about anything and YES, that extends to cleaning your pans. Burnt rice and grease residue don’t stand a chance against this wonder compound, but you’ll want to throw away or clean and store your sponge separately after you do this.
To clean with WD-40, just give the burnt portion of the pan a spray, and start scrubbing at the rice until it’s gone. This works surprisingly well, so it’s definitely a keeper, just be sure to stow away or throw away the sponge and clean your pan thoroughly when you are done.
Can I use Easy-Off on stainless steel pots?
Yes, aside from oven racks, BBQ grills, and broiler pans, Easy-Off is also great for cleaning stubborn, burned rice from stainless steel pots. Just clean the way you would with an oven by spraying a little, scrubbing, and repeating as needed.
Once you’re done, give the pan a proper cleaning in the dishwasher or by hand, put it away, and your burnt rice problem is solved.
In Conclusion
As you can see, there is more than one way to deal with burnt rice and another cooked-in food residue. While boiling water sometimes works on its own, you can give it a boost with lemons to add citric acid into the mix, or you could use some cream of tartar with pure lemon juice to make a citrus-powered abrasive.
White vinegar, boiled, also works a treat and when you need the big guns, oxalic acid is the biggest on this list and should do the trick when the burnt rice seems otherwise unassailable. Be sure to give all of the tips that we’ve listed a try, and then the next time that you burn a little rice you can smile, deal with it, and get on with your day!
A little knowledge goes a long way, after all, so don’t let that burnt rice bring you down – you’ve got this!


David learned to cook at an early age after his mother told him that he couldn't live on pizza forever, Dave uses his modest kitchen skills to recreate sorely-missed recipes from home and to occasionally make new favorite ones from places he is visiting.