One of the worst and possibly most embarrassing things that can happen from time to time is accidentally scorching the rice.
It’s a simple mistake, too! A lot of us love to multitask and once the rice is simmering, you’re not supposed to stir it anyway, but if you wait too long and the water evaporates…
Eh, you know the rest!
The good news is that your microwave is not only up to the task, but actually quite a good option for making rice, and today we’re going to tell you all about it. We’ll talk about how to cook rice in the microwave so that you can avoid the hassle of the ‘watched pot’ problem, and we’ll even throw in some microwave rice recipes so that you can expand this little trick into something wonderful.
Let’s explore how to cook rice in the microwave for quick, easy, and delicious meals on demand!
Bottom Line Up Front
With jasmine, basmati, and short-grain white rice, it’s a simple matter of 2 cups of water to 1 cup of rice, followed by a 10-minute uncovered cook so that it starts steaming. After that, a short 4 – 6 minute covered cook will steam your rice to perfection.
Read on, however, because there is definitely a lot of magic to be made by building on this simple microwave cooking technique!
Understanding how your microwave cooks rice
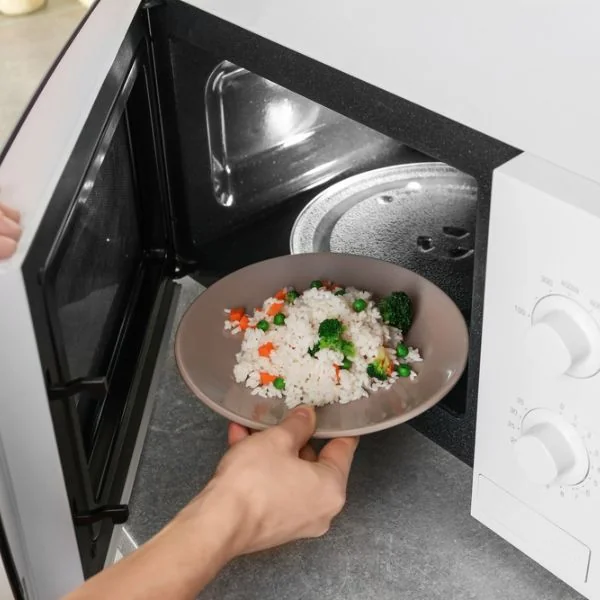
Whenever someone mentions that they’ve cooked something in a microwave, we tend to subconsciously turn up our noses at them.
The biggest reasons for this are that we’ve all had an unevenly cooked microwave burrito at some time (hot enough to scald on one end, perfectly cooked on the other, and sort of frozen in the middle) and also that there isn’t a lot of ‘cooking feedback’ from a microwave as you would get with a stove. You put something in it, set a time, and hope that the time is right.
The thing is when you understand how your microwave works and practice with it a little, you can make all kinds of things, like rice dishes, desserts, or even meatloaf that tastes pretty darned good.
So, what’s going on in there?
Well, your microwave has a device called a ‘magnetron’ inside of the oven, which produces those handy ‘microwaves’. The metal lining that’s inside of the oven causes those microwaves to bounce, and this allows the microwaves to cook by vibrating the water molecules inside of the food.
The vibration creates heat and that’s how the microwave is cooking your food.
With a dish like rice, the ‘oddly-cooked burrito effect’ is avoided because your rice granules are literally surrounded by water molecules, making it an ideal way to cook your rice whenever you like.
Cooking Rice in the Microwave: The Basics
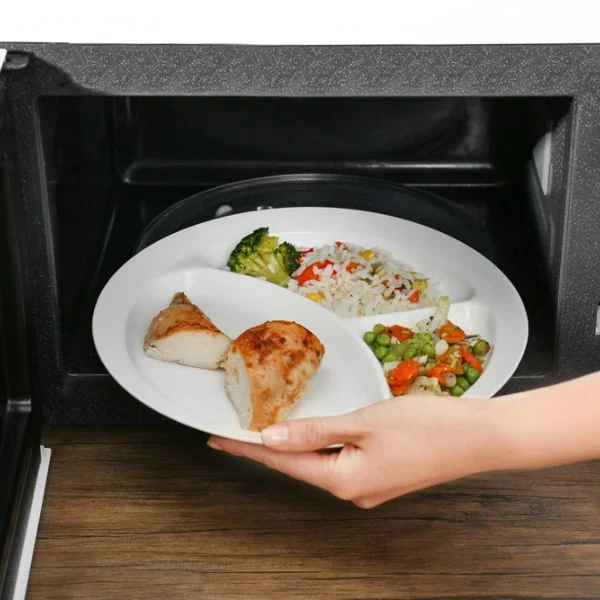
Cooking rice in the microwave is a piece of cake and once you try it then you’ll see how well it comes out firsthand! Not only does it cook your rice quickly and well, but you’ll have a basic microwave cooking foundation that can lead to a lot of new and yummy rice dishes (as we’ll demonstrate in the next sections).
If you’re ready, here’s how to cook rice in the microwave!
Ingredients
- 1 cup of basmati, jasmine, or short-grain white rice
- 2 cups cold or room-temperature water
Instructions
- In a 1.5-quart MINIMUM microwave-safe, lidded container, add your cup of rice and 2 cups of water.
- Leaving the lid off for now, transfer your container to the microwave and set it on high, cooking your rice for 10 minutes. With gloves or oven mitts, remove the container, and check to see if the rice is steaming. If not, then cook again for 1 minute and repeat this process until you see the steam.
- Once it’s steaming, then go ahead and put the cover on top, then place your container back inside the microwave oven for 4 minutes on high setting.
- Remove the rice and let it stand, still covered, for 5 minutes before you check the consistency. If it is not fully cooked, then replace the lid and cook for another minute and check it again, repeating as necessary until fully cooked and fluffy.
As microwave wattage varies, a little experimentation is required the first time –don’t worry, though – you’ll learn your microwave, and the next time that you do this you’ll know exactly how long it needs.
While this works for jasmine, basmati, and short-grained white rice, if you are cooking brown rice then it’s a little different. For brown rice, use 3 cups of water for 1 cup of rice, and microwave it uncovered for 10 minutes on high, then cover it and cook for 20 on 50% power.
Once you’ve gotten the hang of it, then you can start making changes, such as using beef broth, adding different veggies, or whatever else tickles your fancy. To help in this regard, we’ll move on to some recipes that will teach you even more about cooking rice in your microwave.
We’ll give you a hint — Your microwave oven is a lot more versatile than most people think!
Getting fancy with your microwave rice
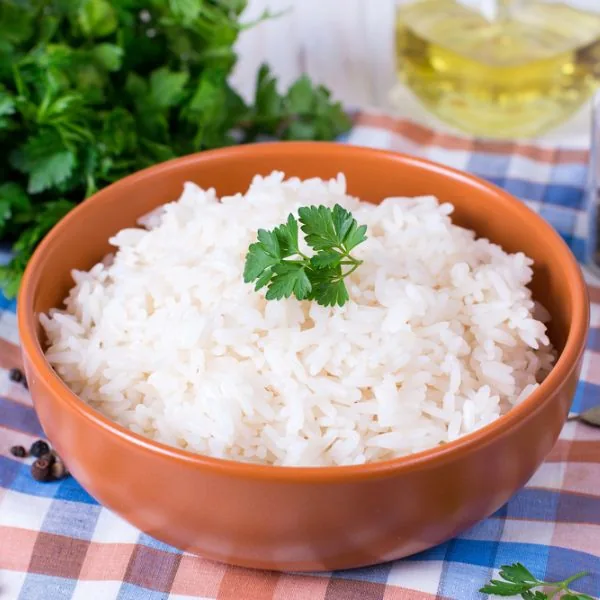
While you can certainly just cook the rice by itself, you can actually do a lot of tricks with your microwave if you would like to upgrade it to something a little more ‘fancy and filling’.
In this section, we’ve collected some recipes that will help you to do exactly that, taking your microwave rice and uplifting it to the next level. In this section, you’ll find 4 microwave rice meals you can cook, along with 2 deserts to finish off your MicroDining experience.
Here’s a quick preview of what we’ll show you how to make:
- Microwave ‘Fried’ Rice
- Hong Kong-style Clay Pot Sausage Rice
- Microwave Rice Pilaf
- 3-minute Microwave Jambalaya
- Fast and Yummy Microwave Rice Pudding
- Microwave Rice Crispy Treats (oh yeah, you read that right!)
Microwave ‘Fried’ Rice
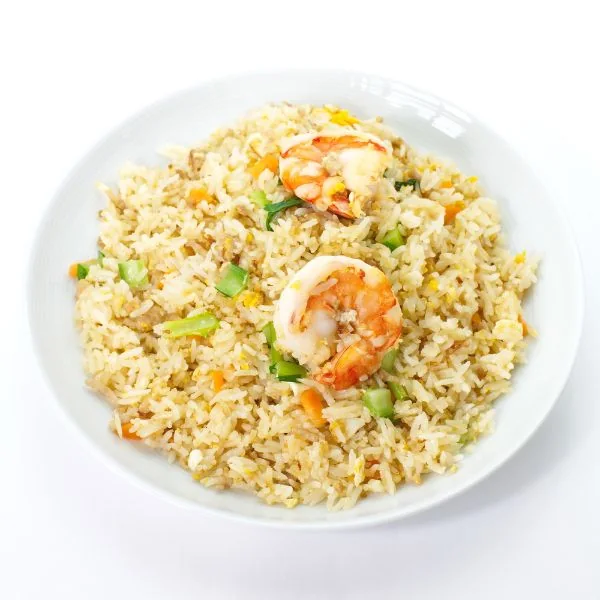
If you want a single serving of fried rice and don’t feel like going into a lot of trouble, then this recipe from Alvin Zhou at Tasty might be just what the doctor ordered. This is especially good if you’re under the weather and worried about burning your rice in a pan. Let’s take a look at what you need to do!
Ingredients
- ½ cup frozen carrots and peas
- ½ cup rice
- 1 cup water
- 1 tbsp fresh scallions (to garnish)
- 1 tbsp soy sauce
- 1 tsp sesame oil
- 2 eggs
- 2 strips bacon (chopped)
- salt and pepper to taste
Instructions
- Add your water, rice, sesame oil, chopped bacon, and soy sauce in a mixing bowl. Stir it and cover it up, microwaving for 6 to 8 minutes (depending on the power of your microwave)
- Add your frozen carrots and peas to the mix, stirring them in for good distribution.
- In a microwave-safe coffee mug, whip up your eggs with a pinch of salt, and put the mug and your covered rice container into the microwave for a 1 – 2 minute cook that should fluff up your eggs nicely.
- Chop up your eggs into small, yummy pieces, and mix them into your rice. Add your scallions atop the microwaved fried rice for a little garnish (you can scatter them on top or make a nice posh pile) and your meal is ready to enjoy!
Hong Kong-style Clay Pot Sausage Rice
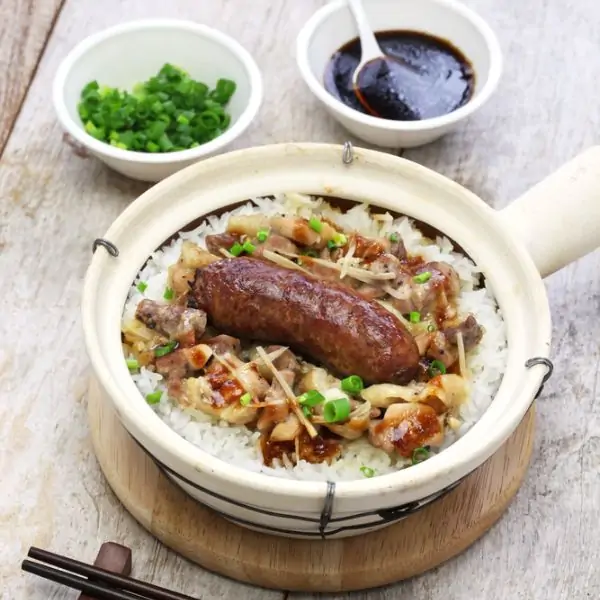
You might not know this, but most clayware is microwave safe, and this recipe from Wok Your World will let you take advantage of this for a genuine Chinese treat. You’ll need to hit your local Asian market for the sausage in advance, but the rest of the ingredients are available just about anywhere. Here’s how to cook rice in your microwave, Hong Kong style!
Ingredients
- 1/3 tsp chicken powder
- 1/3 tsp salt
- 1/2 tsp oil
- 1 tbsp soy sauce
- 1 tsp cilantro
- 1 tsp green onion
- 1 tsp toasted sesame oil
- 1 cup rice
- 1 egg
- 1 1/2 cup water
- 2 pcs Chinese sausage (sliced into rounds)
Instructions
- Add your cup of rice to your clay pot and give it a quick rinse to clean it up a bit. Drain the water.
- Add your cup of water to the rice, along with your salt, oil, and chicken powder, and then cover your clay pot. Microwave for 5 minutes and put on some gloves or oven mittens for the next step.
- Remove your clayware from the microwave, carefully removing the top to avoid steam, and give it a stir. Add in your sausage, cover up the pot again, and microwave it for 1 minute longer and keep those gloves on!
- Remove the pot again, adding in your egg, and then cover it once more for another 1-minute cook in the microwave.
- Remove the pot and uncover it carefully, and add in your soy sauce, sesame seed oil, green onions, and cilantro, and stir it a bit to distribute the contents. Your Hong Kong-style Clay Pot rice is ready to eat!
Microwave Rice Pilaf
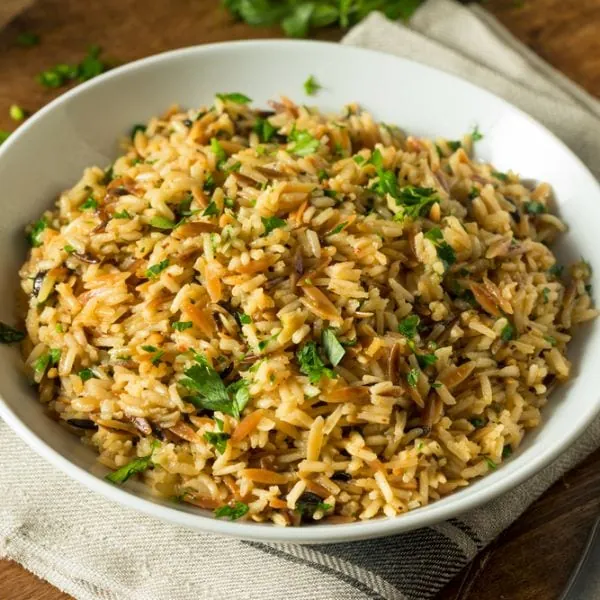
Fancy a rice pilaf? Surprisingly enough, your microwave is more than up to the task.
This recipe from Taste of Home will let you whip up 2 health-friendly servings of Microwave rice pilaf for you to share or to freeze and enjoy later whenever you like. Give it a try and you’ll see for yourself – microwave meals really don’t get all the credit that they deserve!
Ingredients
- ¼ cup onions (chopped)
- ¼ cup celery (chopped)
- ¼ cup green pepper (chopped)
- 1/3 cup uncooked instant rice
- ½ cup hot water
- 1 ½ tsp chicken bouillon powder
- 1 tbsp butter
- 4 ½ oz jar sliced mushrooms (drained)
Instructions
- First off, we need to crisp up your veggies, so put your butter, onions, green pepper, and celery in a 1-quart microwave-safe dish and microwave it for between 2 and 4 minutes – start with 2 if you’re worried and check with your fork, we’re going for a nice crisp-yet-tender texture.
- Now for the easiest part – simply add the rest of your ingredients, mix them well, and microwave them on high for 7 to 10 minutes until your rice is nice and fluffy. Your Microwave Rice Pilaf is officially ready for you to enjoy!
3-Minute Microwave Jambalaya

Jambalaya is delicious, but the time investment can be quite the deterrent at the end of a long day, especially if you just want a single serving. So, what if we told you that you could whip up a single-sized serving in approximately 3 minutes?
Well, with this recipe from Joanne Could at Grazia Daily you can do exactly THAT.
The hardest part of the process is the Mirepoix, but only if you aren’t familiar with it. Mirepoix is a Cajun and Creole staple ingredient, but it’s not complicated – it’s just 2 parts onion, 1 part celery, and 1 part carrot, diced up into small portions that are all the same size.
Now that you have that little nugget of info, you’re ready to make Microwave Jambalaya and below you’ll find the steps that you need to make it happen!
Ingredients
- ½ cup canned sweetcorn
- ½ cup cooked prawns
- ½ cup spicy chorizo (sliced)
- ½ cup of microwave ‘instant’ white rice
- 1 Chicken thigh
- 1 pinch of fresh parsley
- 1 pinch of fresh thyme
- 1 roasted red pepper
- 1 small can of tomatoes (diced)
- 1 tbsp Mirepoix
- 1 tsp garlic
- 1 tsp smoked paprika
Instructions
- In a microwave-safe bowl, mix up your Mirepoix, garlic, paprika, tomatoes, and chorizo, and then put a cover on it and microwave for 1 minute.
- Remove your bowl from the microwave and open it carefully to avoid steaming your fingers. Mix in all of your remaining ingredients, with the exception of your parsley, and microwave it uncovered for another 2 minutes.
- Remove the bowl and stir the contents well, then sprinkle your parsley on top of your meal in the name of proper presentation, and you’ve now got one ready-to-eat single serving of 3-minute microwave Jambalaya!
Fast and Yummy Microwave Rice Pudding
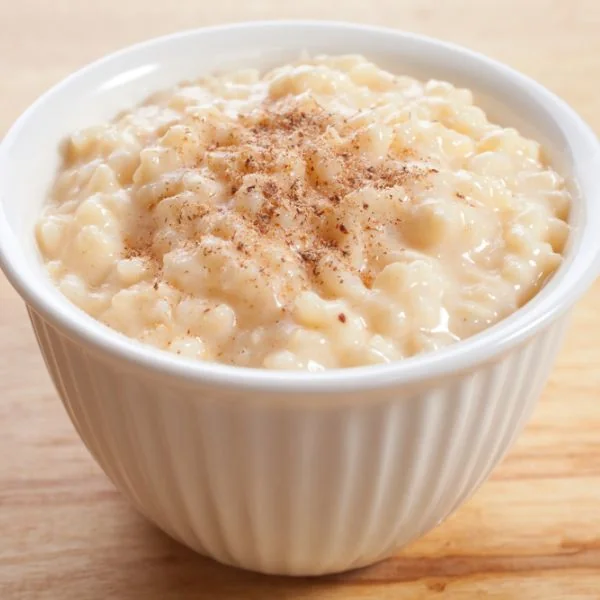
Making a quick dessert with odds and ends in your pantry is a handy skill indeed, and with a few basic ingredients you can whip up a Fast and Yummy Microwave Rice Pudding that is a definite people-pleaser (and also quite easy to tweak to your individual tastes!). This little gem comes to you courtesy of JerriLea at Food.com and the steps go a little like this:
Ingredients
- 1/2 cup cooked rice
- 1/4 cup raisins
- 1 1/4 cups milk
- 1 1/2 oz packet of vanilla pudding mix
- 2 Tbsp sugar
Instructions
- Add all of your ingredients in a large microwave-safe bowl and stir them up well.
- Place your bowl in the microwave, for a 7 to 9-minute cook, taking it out to stir well every 3 minutes. The goal is to bring our pudding mix to boiling and once this happens, the cooking phase is done.
- Remove the bowl from your microwave, giving the contents one last thorough stir, and then cover it up. Let your rice pudding sit for 10 minutes and then voila – it’s ready to serve!
Microwave Rice Krispy treats

Believe it or not, if you are craving Rice Krispy treats, then your microwave is definitely ready to accommodate! Thanks to Erica Walker, from FavFamily Recipes, you’ll be able to whip up a batch of your own in 5 minutes flat and they always come out ooey-gooey, with no risk of that annoying dryness you can sometimes get on the stove.
Rather than pretend that you aren’t dying to try these, read on and find out how it’s done!
Ingredients
- 1/2 cup salted butter
- 9 cups puffed rice (Rice Krispies or generic)
- 16 oz bag of mini marshmallows
Instructions
- In a large, microwave-safe bowl, add your butter and your bag of marshmallows and stick it in the microwave for 1 minute.
- Remove the bowl and stir your marshmallows and put it back in the microwave for 30 seconds and then another stirring session. Do this until all of your marshmallows have melted, but be careful not to overdo it.
- Pour your puffed rice into the mix, stirring as you go, so that all of your puffed rice and marshmallows are evenly and well-mixed.
- Spray a little non-stick cooking spray on a 9 x 13 casserole or other cooking dish and add the contents of your bowl, pressing down a little so that you’ve got an even distribution and height inside the dish.
- Let your treat mix sit and after 10 minutes, your Rice Crispy treats are ready to cut and serve!
FAQ
While we try to be as thorough as possible in these articles, there’s always a little basic info that’s going to slip through the cracks. In an attempt to minimize this, we’ve compiled a few frequently asked questions to help make this microwave rice cooking tutorial as complete as we can.
Without further ado, here are the questions that we get asked the most about microwaving rice!
Is cooking rice in the microwave safe?
Yes, cooking rice in the microwave is safe, and it’s also a great way to shave off a lot of pot-watching and potential burning woes. Just be sure to follow the recipe to a ‘T’, especially where water and covering or uncovering your container are concerned.
If you don’t, the rice isn’t going to burn, but it may come out slightly cooked or a little dry, so be sure to follow all of the steps you’ve been given EXACTLY until you’ve made rice in the microwave enough times to get creative.
Does rice cook faster in the microwave?
It takes roughly the same time, although that depends on what you are making.
In some cases, you’ll shave off a good 10 or 15 minutes, but this won’t always apply. The biggest advantage, really, is that your microwave is quite well-suited for cooking up perfect rice with very little effort on your part.
Unlike rice in the pot, you can do other things while you are microwaving rice and you won’t have to worry about scorching it and having to start over – which is a huge deal if you like to multitask or have a bad habit of forgetting the rice for a minute or two too long.
Why does Microwave ‘Instant Rice’ cook differently from regular rice?
Microwave instant rice actually is different from regular rice, in that it has been pre-cooked and then dehydrated – the same as is done with ‘Boil in Bag’ rice. While it doesn’t look different, all it needs to rehydrate is boiling water and this is done much quicker in your microwave than on the stovetop.
How do you reheat microwave-cooked rice?
The biggest worry about reheating rice in the microwave is that it will end up dry, but you can easily avoid this. Simply add 1 tbsp of water to your rice before you microwave it and then cook it covered for about 1 minute or two and it should steam your rice to reheated perfection.
Does microwave rice taste the same?
Yes, microwave rice is going to taste the same as what you’d get from a rice cooker, with the possible exception of ‘instant rice’. The reason that the instant rice variety tastes a little different has to do with the fact that it is thoroughly rinsed and pre-cooked, which strips a bit of starch and nutrients in the process.
That said, if you made rice in a rice cooker and also in a microwave, sticking a sample of each in two separate bowls for a taste test, we would be very surprised if anyone could tell the difference!
Some closing words on cooking rice in a microwave
Cooking rice in your microwave is easy, quick, and convenient.
While you won’t shave a lot of time off of cooking the rice on its own, for more complex meals you can save yourself anywhere from 15 minutes to even HOURS. Not only that, but the risk of burning your rice is almost zero and that alone is truly worth the price of admission!
Just be sure to follow any microwave recipes that you use to a ‘T’, at least until you’ve cooked rice in your microwave enough times to learn all of the tricks of it for yourself. While it takes a little time, once you’ve practiced enough, you’ll be surprised at all of the delicious possibilities your microwave will open up for you.
Your microwave doesn’t get enough credit for all of the things that it can really do, but once you’ve seen some of its wonders firsthand, we have a feeling that this is going to change!
References/FYI
Epicurious; Johnson, Emily; “How to Cook Rice in the Microwave“
Tasty; Zhou, Alvin; “Microwave ‘Fried’ Rice“
Wok Your World; “Microwave Hong Kong Clay Pot Rice”
Taste of Home; “Microwave Rice Pilaf”
Gracia; Could, Joanne; “How To Make A Healthy Weeknight Microwave Jambalaya In 3 Minutes Flat“
Food.com; JerriLea; “Creamy Microwave Rice Pudding“
FavFamilyRecipes; Walker, Erica; “Rice Krispie Treats (5-Minute Microwave Recipe)”


David learned to cook at an early age after his mother told him that he couldn't live on pizza forever, Dave uses his modest kitchen skills to recreate sorely-missed recipes from home and to occasionally make new favorite ones from places he is visiting.