We grew up hearing over and over that breakfast is the most important meal of the day.
Well, that lesson sank in. We don’t take breakfast lightly. The most well-loved breakfast recipes we often choose from include waffles, eggs, pancakes, and of course, granola!
Granola is a nutrition-packed cereal rich in fiber, protein, and micronutrients that can improve blood pressure and gut health, lower cholesterol and sugar levels, and provide inflammation-fighting antioxidants. Who wouldn’t want to have this kind of cereal for the day’s first meal?
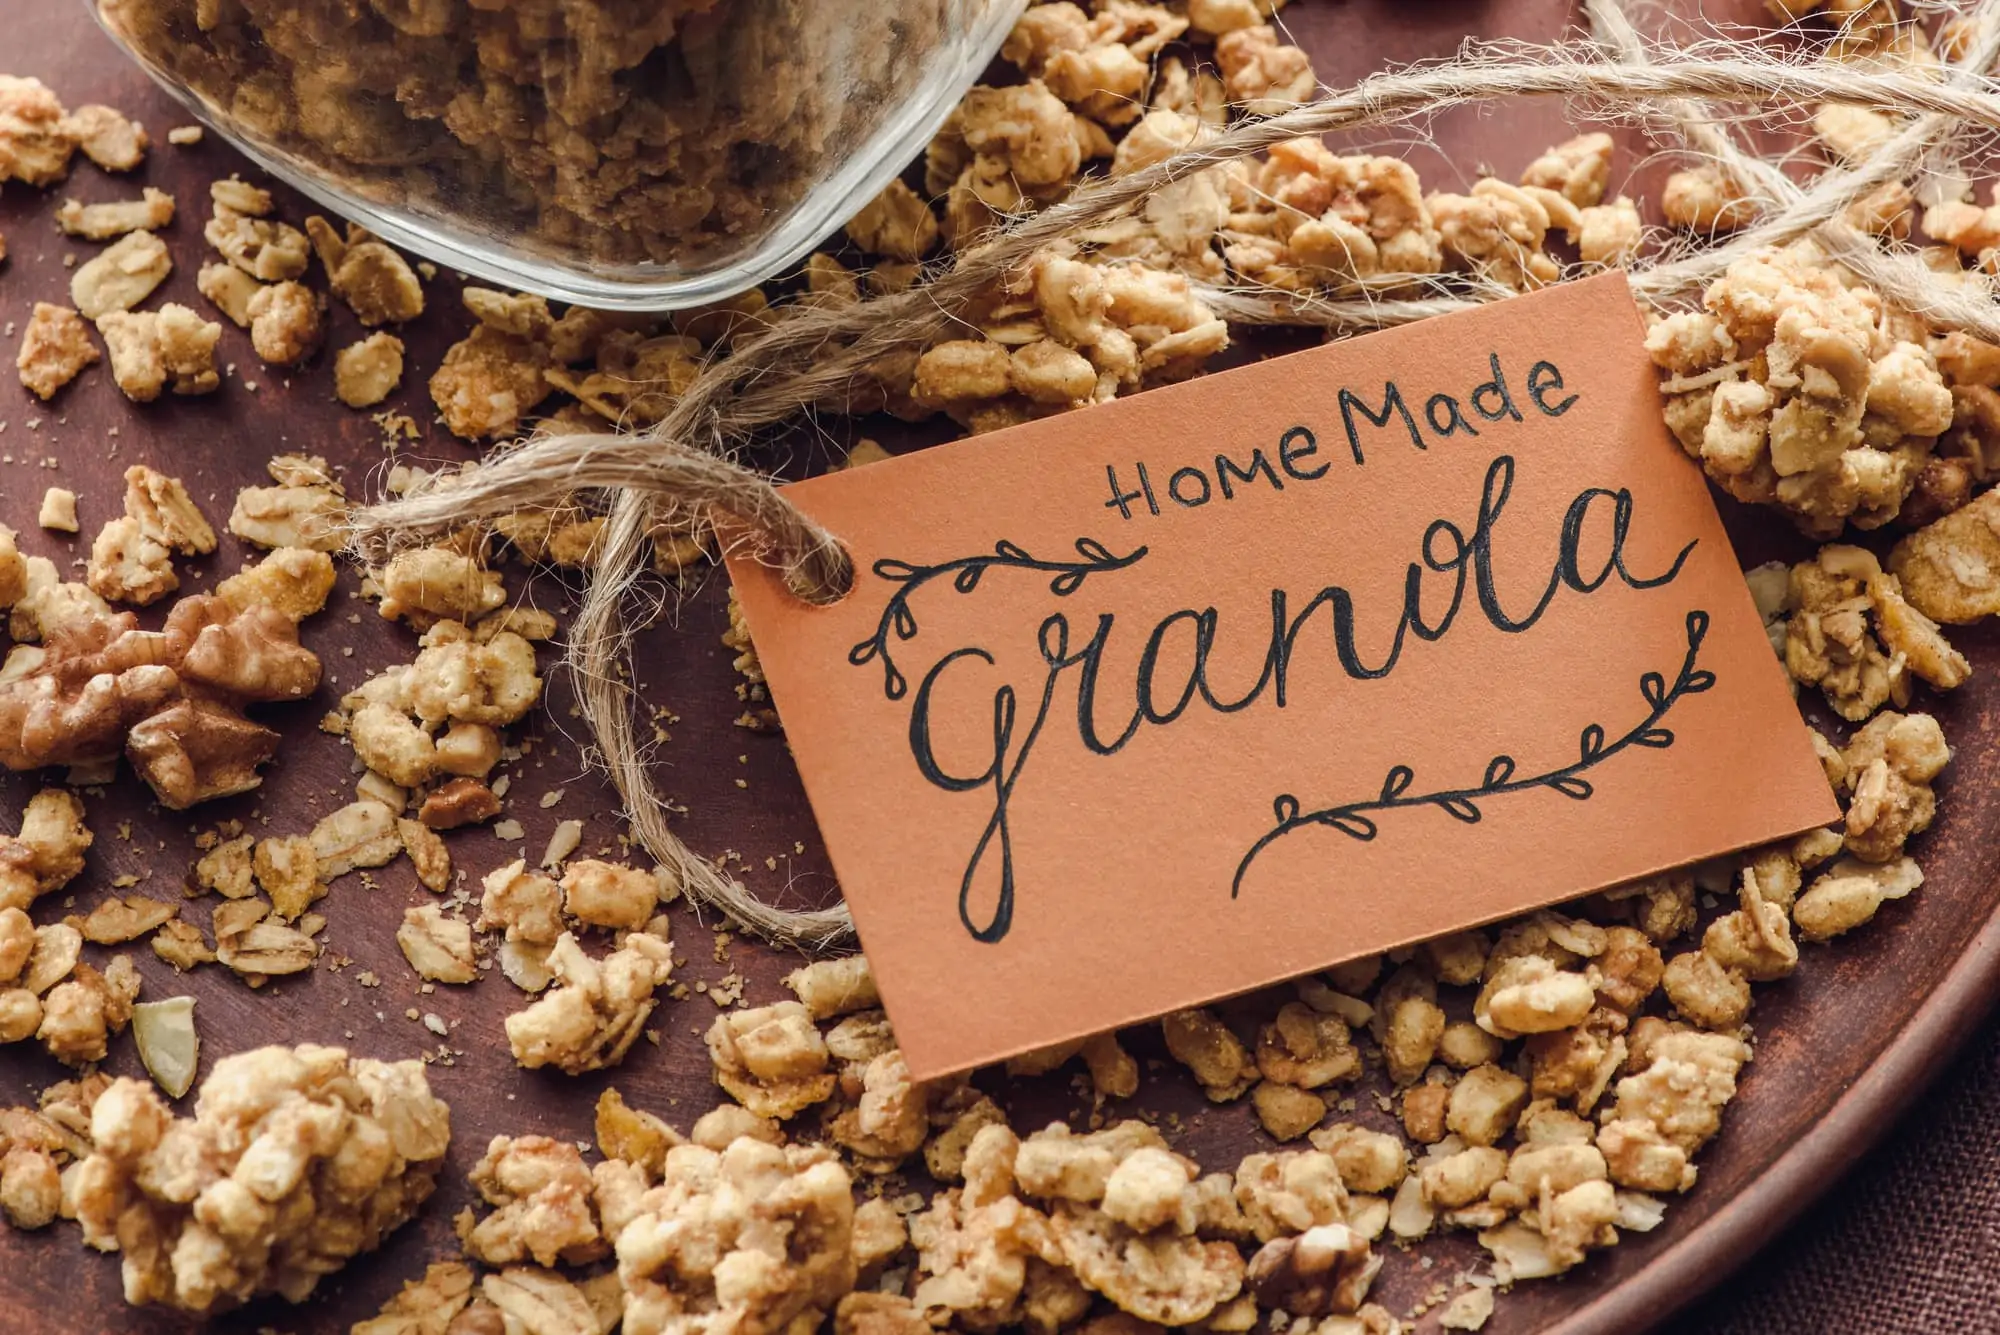
Granola is available in grocery stores in different varieties, yet we know that store-bought granolas are never the best ones. Nobody can ever beat a “made-with-love” homemade granola recipe!
Want to surprise your family with some delicious homemade granola? We share our best tips and tricks on how to make a healthy–and delicious!–granola recipe at home.
Ingredients for Basic Granola
To make your homemade granola recipe come to life, you’ll need to start with the following basic ingredients (you can make variations on basic granola once you master it!):
- Oats. The most recommended oats for granola are heart-healthy and old-fashioned ones. If you wish to make gluten-free healthy granola, you can opt for gluten-free oats.
- Seeds and/or Nuts. You can choose any from the following: walnuts, almonds, cashews, pecans, peanuts, pistachios, pepitas, sunflower seeds, and macadamia nuts.
- Unrefined Oil. This ingredient helps in achieving the perfect granola texture and crispness. You can use unrefined coconut oil or extra-virgin olive oil. This healthy fat is responsible for helping your granola stick together.
- Natural Sweetener. Two of the most preferred natural sweeteners include maple syrup and honey. These can actually help your homemade granola achieve a different level of deliciousness than sugar can. You can also try brown sugar if you like.
- Salt and Spice. In making a flavorful homemade granola recipe, salt is the key. You can use fine-grain sea salt or just regular table salt, whichever you have.
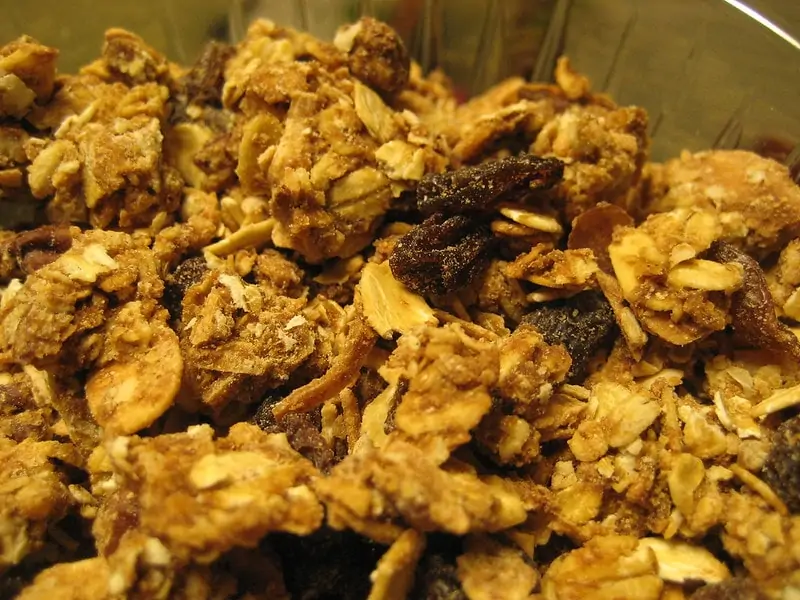
- Dried Fruit. A few slices of dried fruit adds a chewy, fruity flavor to your granola. The most commonly used in granola include dried cranberries, cherries, raisins, and chopped dried apricots. Fresh fruit can be a great choice, too.
- Optional Mix-ins. You can add more ingredients depending on what homemade granola recipe you wish to make. Chocolate chips, citrus zest, unsweetened coconut flakes can be some of your choices.
Recipe for Basic Granola
Learning how to make granola at home is easy and it’s so much cheaper than buying it already made. Trust us: everyone in your family will absolutely love this recipe. To start, we’ll share with you the basic homemade granola recipe you need to master.
Ingredients:
- 4 cups old-fashioned oats
- 1 ½ cup raw nuts and/or seeds
- 1 tsp fine-grain sea salt (if you use standard table salt, add only 3/4 teaspoon)
- ½ tsp ground cinnamon
- ½ cup olive oil or coconut oil (melted)
- ½ cup honey or maple syrup
- 1 tsp vanilla extract
- ⅔ cup dried fruit (chopped)
- Additional mix-ins: ½ cup coconut flakes or chocolate chips
Directions:
- While gathering your ingredients, preheat your oven to 350 degrees Fahrenheit and prepare a large baking sheet lined with parchment paper.
- Mix the oats, nuts/seeds, salt, and cinnamon in a large bowl. Blend them by stirring.
- Add the maple syrup/honey, oil, and vanilla extract. Mix the ingredients until you see that every oat is coated. Then, pour your mixed granola onto your pan and spread it in an even layer using a spoon.
- Bake for 21 to 24 minutes until the granola becomes a light golden color.
- Once it’s done, let the granola cool completely for at least 45 minutes. Then, add the dried fruit, chocolate chips, or coconut flakes.
- If you want big chunks, break the granola using your hands into pieces. Or, if you do not want clumpy granola, you can stir the mixture using a spoon.
- Store granola at room temperature in an airtight container.
Recipe for Chunky Granola
If you prefer larger granola chunks in your homemade granola, we’d like to give you a simple recipe to follow to please the chunky granola lover in your house.
Ingredients:
- 1/2 cup vegetable oil (or other oil preferred)
- 1 tbsp vanilla extract
- 1/2 tsp salt
- 1/2 cup honey or maple syrup
- 5 cups old-fashioned rolled oats
- 1/3 cup light brown sugar
- 5 cups old-fashioned rolled oats
- 3 cups total of additional mix-ins such as chopped nuts, dried fruit, shredded coconut, chocolate chunks, etc.
Directions:
- Line a baking sheet with parchment paper and preheat the oven to 325 degrees Fahrenheit.
- Mix the oil, brown sugar, honey, vanilla, and salt in a large bowl. Stir the ingredients until the sugar seems to disappear and the oil is well-distributed.
- Add the old-fashioned oats, then mix the ingredients.
- Place the oat mixture onto the baking sheet and spread it in an even layer.
- Bake for at least 30 minutes. Rotate the pan halfway through baking.
- Add the dried fruit. Then, let the granola sit and cool completely for an hour at room temperature.
- Take the granola off the baking sheet using a small spoon. Then, break the granola into larger chunks using your hands or the spoon, whichever works best for you.
- Store your chunky granola at room temperature inside a sealed, airtight food storage container.
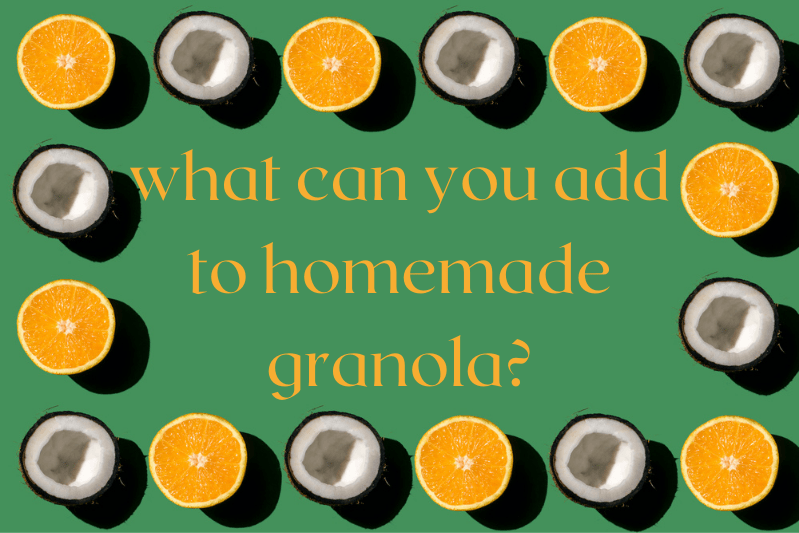
Variations on Basic Granola
The most exciting part of making homemade granola is, after mastering the basic recipe, you can begin exploring tasty granola variations, making your healthy granola recipe unique each time you make it. Granola is a flexible cereal base in which you can incorporate other ingredients such as:
- Dried Cranberries. Aside from the fact that dried cranberries work really well with any granola recipe, dried cranberries are also a great source of vitamins and minerals. Kids adore dried cranberries, too.
- Flax Seeds. Flax seeds are commonly used in granola, and they are perfect when matched with sunflower seeds, pumpkin seeds, and cinnamon. Also, they are rich in omega-3 fats, fiber, and other powerhouse nutrients.
- Cinnamon and Salt. For some, cinnamon and salt may be an odd pairing, but these two spices add an authentic flavor to your granola recipe.
- Chia Seeds. Chia seeds are rich in omega-3 and fiber. Thus, chia seeds help your heart and keep you full all day long. Plus, chia seeds are best paired with protein-packed ingredients, such as pecans and almonds.
- Shredded Coconut. We all know how to use shredded coconut freely in other baked goodies such as muffins and macaroons. Shredded coconut works pretty much the same as a healthy and yummy ingredient in your well-loved granola recipe.
- Sliced Almonds. You can use either sliced or slivered almonds in your granola recipe. These are rich in healthy fats, protein, fiber, magnesium, and vitamin E.
Tips for Making Homemade Granola
- A granola recipe requires fat to avoid making just a pile of dry oats. You can use olive oil to achieve the right balance of a sweet and savory granola flavor. Or, you can try coconut oil if you wish. The main rule is to never omit fat in your granola recipe.
- You need to be wise when choosing the oats for your granola recipe. Old-fashioned oats are your best option, as quick oats can yield a different (and not as good) result. We recommend you just avoid using quick oats in this recipe.
- When making granola, always remember to add the fruit last. The best time to add dried fruits is when the granola comes out fresh from the oven. However, ingredients such as pecans and coconut can be added halfway through baking, as they turn golden brown more easily than the other granola ingredients.
- The hardest part to master is knowing when the homemade mix is truly done. Making granola is like making cookies: the snack continues to bake even after it’s taken out of the oven. On the other hand, it’s easy to make the mistake of thinking the granola is thoroughly cooked, only to find that it needs more baking time. It’s best to follow the recipe, but also to use your best judgment about whether the granola is ready to be taken out from the oven or not.
How to Store Homemade Granola
You can store homemade granola in two ways: in your pantry or in your freezer. Storing it in the fridge is unfortunately not an option: the fridge just makes granola soggy in the long run. To ensure you are storing it properly, follow our tips below.
To Store Homemade Granola in the Pantry
- Make sure you let the granola cool completely at room temperature to avoid condensation build-up in your food storage container.
- When the granola is cool, place it inside an airtight container. You can use locked storage boxes or Ziploc bags. If you have a vacuum sealer in your kitchen, we highly recommend you use it: the less air contacts the granola, the lesser the chances are of your homemade sweet treat becoming stale.
- Seal the airtight container at room temperature and place it in a dark corner of your pantry. You must keep it away from any sources of heat.
- Granola stored like this will generally last for up to 6 months. However, if you live in a humid climate, its shelf life will be only 2 to 3 months.
To Store Homemade Granola in the Freezer
- Let the granola cool and continue drying at room temperature. Any excess moisture will make your cereal soggy.
- Place your granola in an airtight container. Ziploc bags work best when you’re freezing granola. If you want to use a solid food container instead, fill it completely with the granola, making sure there’s no air caught in the container.
- Label your bag or container with the date you store your granola in the freezer so you have an idea of how old it is later on.
- Storing granola in the freezer can extend its shelf life up to six to eight months, but it reaches its finest quality around the third month of freezing.
What Can I Do with Extra Granola?

It’s not often that we actually have leftover granola, as most of us love this healthy and flavorful breakfast cereal so much that it just disappears quickly. But if you find yourself with extra granola, we have suggestions for creative ways to use it in other dishes.
- Use as a topping in apple crumble. An apple crumble is best topped with a crunchy topping; your extra granola can be the best choice.
- Use it to coat a savory entrée. Your extra granola is actually a unique yet tasty substitute for bread crumbs. Granola’s texture adds the perfect crunch to your savory dish.
- Add it to your yogurt. Adding extra granola to your light afternoon snack can add both a flavor and a texture that make your sweet dairy treat even more delectable.
- You can make chocolate bark. With your extra granola, get in the kitchen and make an easy, delicious recipe to satisfy your chocolate cravings!
- Make a smoothie. Did you know you can make your extra granola into a smoothie? You can add fruits and other ingredients to make your smoothie the best treat.
Conclusion
Granola is at the top of almost everyone’s favorite cereal/snack list. It is both healthy and delicious!
But store-bought variations of granola never truly match the intensity of flavors and texture we love the most about homemade granola.
Our easy, basic homemade granola recipe lets you create your own favorite granola variations when you add some mix-ins to enhance your overall granola experience.
You can also extend your homemade granola’s shelf life by storing it properly in the pantry or freezer inside an airtight container.
The moral of this story: homemade granola can save you money, tastes better than store-bought, is a cinch to make, is a family favorite, is versatile and healthy, and is easily stored for up to eight months. Make your family happy by whipping up a batch right now!
Frequently Asked Questions
How do you make granola from scratch?
To make our easy homemade granola recipe, you need to gather the following granola ingredients: oil (olive oil or coconut oil is preferred), honey or maple syrup, cinnamon, salt, old-fashioned oats, sliced cinnamons, and dried fruit or raisins. You can choose gluten-free oats, if you wish. Once the ingredients are ready, follow these simple steps.
- Preheat the oven to 300 degrees Fahrenheit and line a baking sheet with parchment paper.
- Combine the oil, honey, cinnamon, and salt in a bowl.
- Add the oats and almonds and mix to coat.
- Place the mixture into the baking sheet and spread evenly.
- Bake for 20 minutes, stirring halfway through the process.
- Remove the granola from the oven, add the dried fruit, and let cool at room temperature.
- Store in an airtight container.
Why is granola so bad for you?
The list of granola’s benefits is endless, yet like other food items, it has its downsides. Granola can be high in calories with added fats and sugars. It is recommended to eat small portions, as too much granola (as with most foods) can lead to weight gain. Furthermore, eating too much sugar can lead to risky health conditions such as diabetes. Thus, it’s best to eat granola (and most foods, really) in moderation to avoid health problems in the future.
Is it cheaper to make your own granola?
Yes, making your own homemade granola is cheaper than buying the store-bought kind. Aside from its lower overall cost, homemade granola is also healthier and tastier than grocery store variations. Learning how to make granola on your own does not really take much of your time, since you only need about an hour to make a batch. You need only a mixing bowl, baking tray, and an oven, and you can start creating your own cereal that can last up to eight months once stored properly.
Is homemade granola better for you?
Granola ingredients are linked to several nutritional benefits, making granola a healthy breakfast cereal or snack. Since granola is rich in protein and fiber, it can help you feel full. It influences the fullness hormones, including ghrelin. Thus, it aids in appetite control and adds extra energy during strenuous activities. Consuming granola in moderation can also help improve and control blood pressure, cholesterol levels, gut health, sugar levels, among others.
How is granola made?
Granola is a perfect choice for breakfast and snacks because it contains rolled oats, natural sweeteners, nuts, dried fruit, cinnamon, and salt. It’s baked until it becomes toasted, crispy, and golden brown. To ensure a loose cereal consistency, it’s usually stirred during the baking process. You can also add mix-ins to make a customized granola recipe of your liking. Granola needs to be cooled completely before being stored in an airtight container to prevent the cereal from becoming soggy over time in storage.
Why is my homemade granola not crunchy?
One of the main reasons granola is not crunchy is the nuts’, seeds’, and coconuts’ exposure to high temperatures. These ingredients may burn before the granola batch even has a good chance to dry our and become crispy. It’s safer to bake your granola at a low temperature. Keep an eye on the mix in the oven and check on it from time to time to help these ingredients reach a golden brown hue evenly. Remember: when making granola, keep it low and slow.
Additional Resources
- BBC: Is Granola Healthy for You?
- Youtube: Five Ways to Eat Granola
Image Credits via Flickr: mrsdkrebs


Rhonda grew up with parents who gardened, hunted, fished, canned, and preserved food. Her mother was a professional cook and Rhonda credits her teaching everything from how to make homemade biscuits and gravy to what kind of meals to serve for different occasions. In the kitchen, Rhonda uses a mix of old-fashioned country cooking and up-to-date fads in the kitchen, often experimenting with replacing higher-calorie or fat ingredients with healthier options that still retain the delicious flavors of the originals.