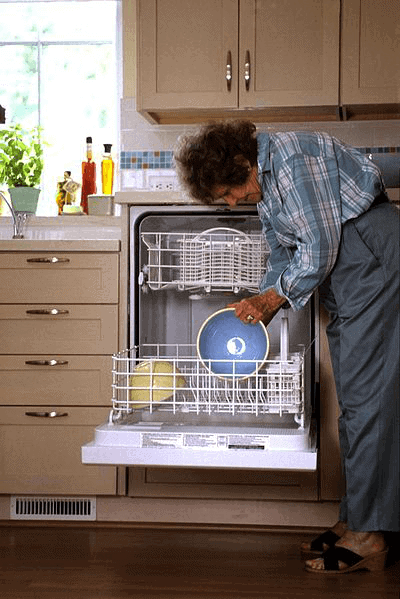
It is safe to say that your dishwasher is one of the most loyal companions in the kitchen because it takes the responsibility of cleaning all dirty dishes to perfection with just one press of a button.
This could be the reason why the idea of giving your dishwasher a deep cleansing treatment may sound a little weird because usually, the dishwasher is the appliance that is making everything clean.
The best part is that just by deep cleaning this wonderful kitchen appliance, you will notice how the functions of your dishwasher are getting better and more efficient.
If you feel that your dishwasher is not working like it once used to, it could be because there is food residue, grease, soap remainders, and other things that are turning into stubborn deposits.
With so much unwanted buildup, it is normal for your dishwasher to look bad, smell awful, and work inefficiently. Also, another issue with this grimy buildup in your dishwasher is that it prevents the drainage system to work properly also. This is why it is important for you to find a method that thoroughly and successfully removes everything from the dishwasher.
What you need to do is open up your dishwasher and see if there is any standing water at the bottom when you are unloading the washed dishes. If you can spot standing water, you know what to do. In a situation like this, you need to find a method that will effectively clean your dishwasher. To make things easier for you, we have a 3 step process for you that will allow your dishwasher to function like it used to.
However, before beginning this journey, you must have some insight into how the cleaning process works, so let us educate you.
Understanding How it Works
The cleaning process that we have for you features the use of the two best ingredients. Both these ingredients (baking soda and white vinegar) are often used for cleaning purposes around the house.
While baking soda has the ability to take away lingering odors from the dishwasher and scrubbing away stubborn food bits, stains, and residues, white vinegar can successfully remove gunk, take away the mineral deposits and leave your dishwasher sanitized.
By using the ingredients properly, you will be able to have a dishwasher that has a fresh smell, clean look, and does not have any drainage issues. Since this method is so effective, it is important for you to be aware of it.
Cleaning Your Dishwasher Effectively
1. Start with a Thorough Drain Inspection
Before getting to the dirty, dishwashing cleaning, it would be a smart idea to look around the drain area to see what is going on. Take the bottom rack out so you can easily access the drain area and inspect it. If you feel that there is material that could be preventing the drainage to discard successfully, take it out immediately.
The most common things found in the drain would be bones, bits of plastic, glass pieces, crab shells, and more stuff of this sort.
At this time, you must also look for any holes that could be present in the spray arm. If it looks dirty, take a used toothbrush, dip it in white vinegar and start scrubbing the food particles out of the spray arm. After you are done with the cleaning, you can attach the bottom rack again in the dishwasher.
2. Go For That Vinegar Wash
Take a dishwasher-safe bowl, and place it on the top rack of your emptied dishwasher. Then, pour the white vinegar into the bowl and close the dishwasher. Set the dishwasher on its hottest setting and run it on a complete wash cycle so the vinegar can do its magic.
3. Do the Baking Soda Wash
After the first white vinegar wash cycle is done, take a handful of baking soda and start sprinkling it at the bottom of the dishwasher. After coating the bottom with this white powder, set it on another wash cycle on your dishwasher’s hottest setting.
You Can Also Try Bleach – Optional Step
If your dishwasher has stubborn mold or mildew build up in it, it will be hard to successfully remove it with just vinegar and baking soda. This is when you can add bleach in the process. What you have to do is take a cup full of bleach and place it on the bottom of your dishwasher. Again, run it on its hottest wash cycle setting.
Keep in mind, if your dishwasher is made with stainless steel on the inside, do not use bleach. Bleach has the ability to permanently discolor the stainless steel and damage it.
Make sure you are following these essential steps at least once in 3 months so your favorite kitchen appliance keeps working properly.
Bonus Dishwasher Tips
- Press the garbage disposal button so the route is clear before you start adding the dirty dishes in the dishwasher. Your dishwasher will be draining in the same pipe as the sink, so make sure the drain is clear.
- Before putting in all the dishes, do a hot water run until the faucet begins to feel hot. Starting the cycle with hot water will make sure the dishwasher works better.
- The water heater temperature should be set to a temperature that will properly clean the dishes. Usually, the temperature should be set to 120 degrees F or 50 degrees C. If the water is colder, it will not clean properly and if it is hotter, it could burn someone.
- Only use the dishwasher when you have a lot of dirty dishes to conserve energy and water. Also, make sure you are not putting in too many dishes in the dishwasher though.
With the help of these 3 essential steps on cleaning your dishwasher, you will ensure that your dishwasher is functioning just like it’s supposed to. Make sure you keep the suggested bonus tips in mind as well. With that in mind, happy cleaning.


Because Brock is the tallest member of the team at 6 foot 5 inches, when he’s not thinking about food, he’s eating his favorites: pizza, burgers, tacos and burritos. He's always experimenting with the latest kitchen gadgets and exploring new techniques in the kitchen.